But here today I would like to introduce the Idea of creating your own Travel Humidor or Traveldore as I like to call it. Now you can make a traveldore out of just about anything your mind can dream up, and if you are really cheap all you need is a ziplock bag. But if you are handy with wood working you can create some real works of art that no one else has. And thats the type I would like to talk about today.
A traveldore doesn't have to seal like a regular humidor. That's because it's general purpose is to just cart your cigars from point A to point B for immediate consumption. That doesn't mean that you can't make it sort of seal for longer storage, but for our purpose today I am talking about a wood box to carry and protect your cigars, and depending on the size, maybe your lighter and cutter.
I have used white cedar and various other hardwoods such as black walnut. But I also like to use bamboo cutting boards to make them as you can get a variety of patterns and colors to choose from that really finish off really well. And I have even lined the insides with those thin slips of cedar you find separating the layers of cigars in retail boxes. But like I said about the seal, it is not necessary for a quick consumption storage box.
For today's example I will use pictures from a box I made for a good friend of mine, Paul Stulac, of Paul Stulac Cigars.
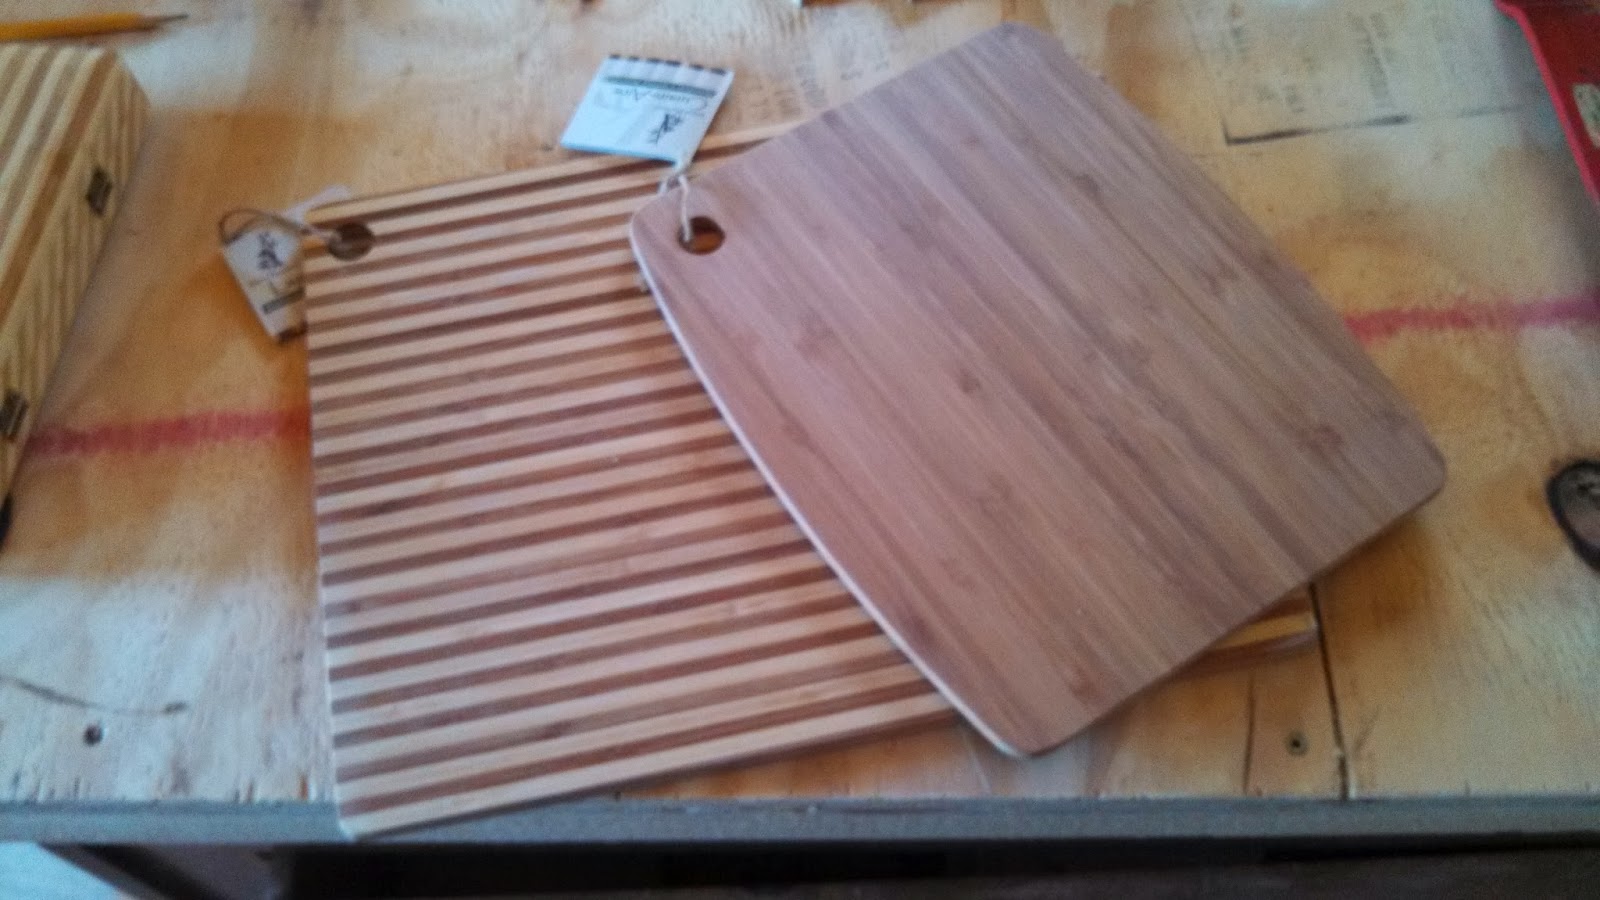
To start I bought a couple bamboo cutting boards I picked up from TJ Max for about $5 a board. I find they always keep a pretty good supply of them throughout the year.
Usually when I create these I stipple some design on the top of the cover, but because Paul's Cigar logo is so intricate and I couldn't get that level of detail with that process. So I experimented with a temp tattoo he sent me and was able to adhere it to the wood.

Here is a closer look at that intricate design.

After I decided how big of cigars it would hold and how many, I started to cut the pieces I needed on my table saw. I actually had alot left over from the two boards of which to use for Nub Buddies and maybe part of another box.

Putting the pieces together with glue and clamps, A very tricky process, I let it sit overnight to cure. I use Gorilla Glue for its strong bond and because it dries clear.

After it has dried I run all edges and corners through my router table to round all edges on the outside. I then sand the whole outside starting with a medium grit sandpaper down to a fine grit then finishing it off with 0000 steel wool and a fine grit sanding sponge. It is at this point I very carefully run the box on its side through the table saw to separate the top from the bottom. I like to cut the top a little thinner than the bottom so that the cigars sit deeper in the box. After this is complete I apply the logo to the box and start applying Spar Urethane. Why Spar Urethane? Because it expands and contracts with the wood and wont crack. It is durable and waterproof.

After many thin coats, I have learned you have to be patient and apply thin coats, it starts to get a really nice finish that brings out the deep warmth of the wood.

Here is a close look of the logo with the finish.

For the finish I add a clasp to the front and a couple hinges to the back. I like brass as it dresses them up real nice. You can find these items at most hardware or hobby stores and are quite inexpensive. Here is the finished product I sent out to Paul.

Stulac Cigars with a little extra room for a lighter and cutter!

And here are a couple other Traveldores I have done for personal friends and family members. I stippled the logos of their favorite cigar brands on the covers:

This one was made out of White Cedar.

And for and avid hunter buddy I stippled this buck!

So there you are! You can be as creative as you want to be! But you must have patience and not rush the process to get good results.
Hopefully this will inspire you to try your hand at making one. If so send a pic of your result and who knows? I might put it up on the blog!
Till next post.............................................Peace!